WEDDING DIYS THAT SAVE YOUR BUDGET (AND YOUR PHOTOS!)
One of the most common questions we get as a photography team is: "How do we make our wedding look high-end without spending $50k?" When Mo and I were planning our own wedding, we faced that same challenge. We wanted the "Pinterest-perfect" look, but we didn't want to start our marriage in debt. As photographers, we knew that certain textures and colors pop on camera more than others. So, we decided to get creative and DIY our decor using a few key finds from Amazon and Canva.
The best part? These budget-friendly choices looked absolutely stunning in our professional gallery. Here is exactly how we did it and how you can too.
1. The "Forever" Florals
Real flowers are gorgeous, but they can be a massive budget drain.
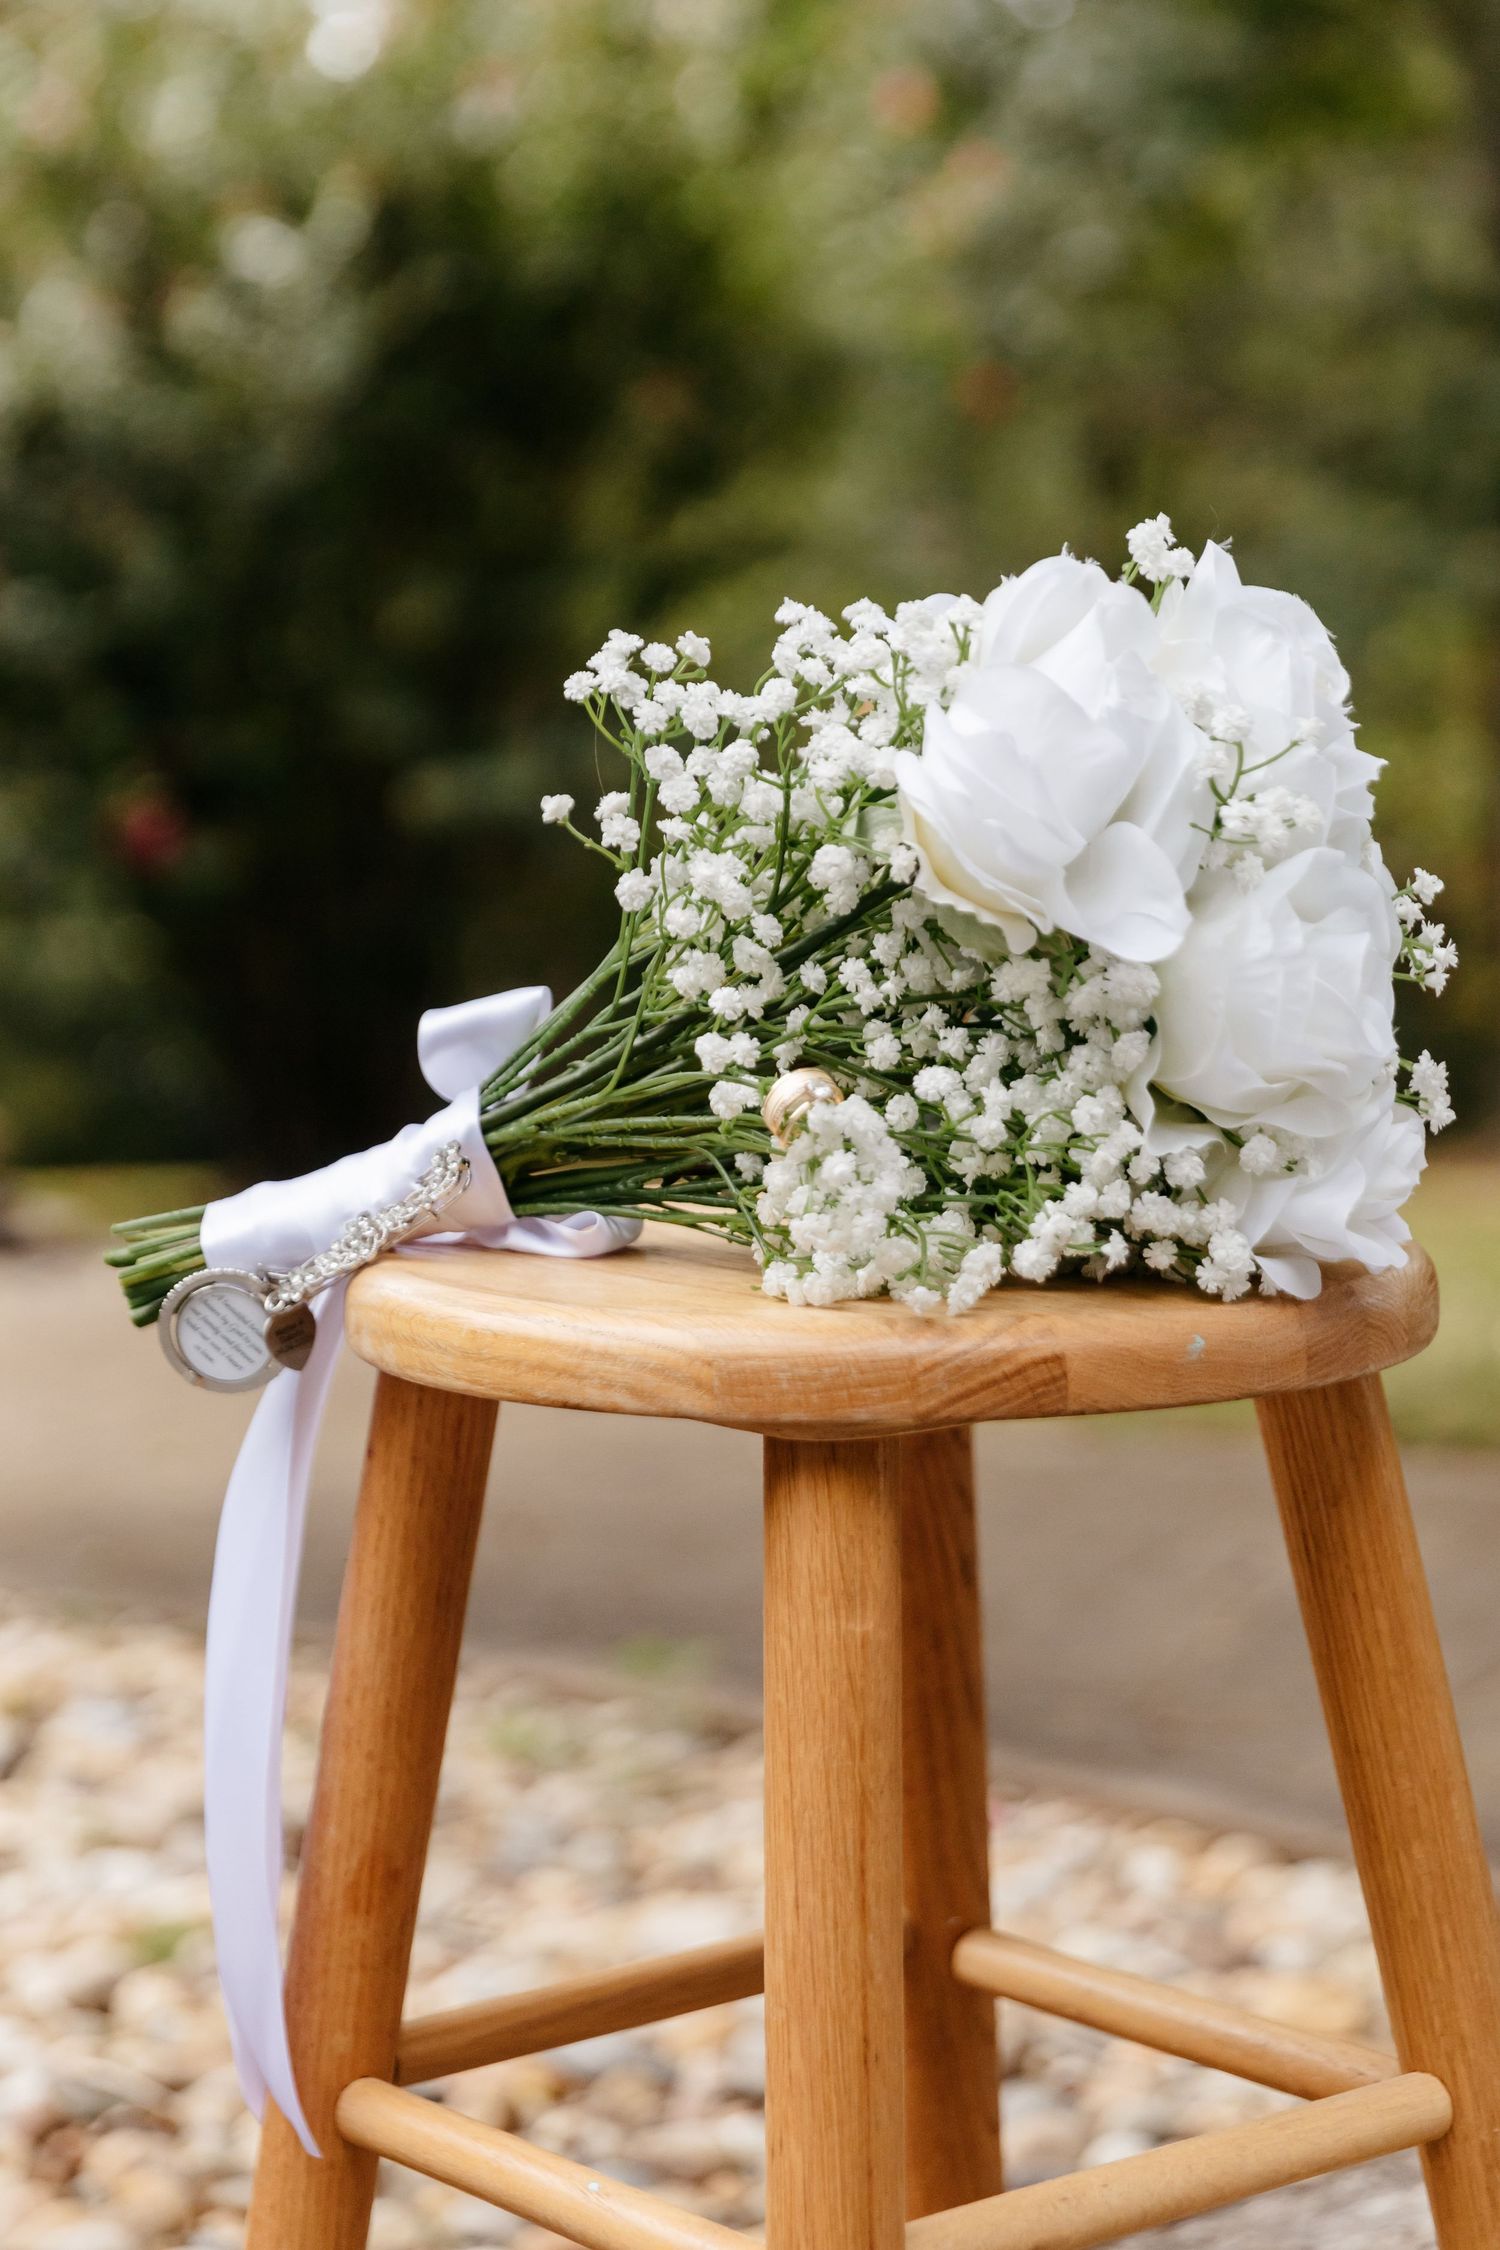
Bridesmaids’ Bouquets: We used a combination of fake baby's breath and green ribbon. Because baby's breath is naturally small and airy, the "fake" versions look incredibly realistic on camera.
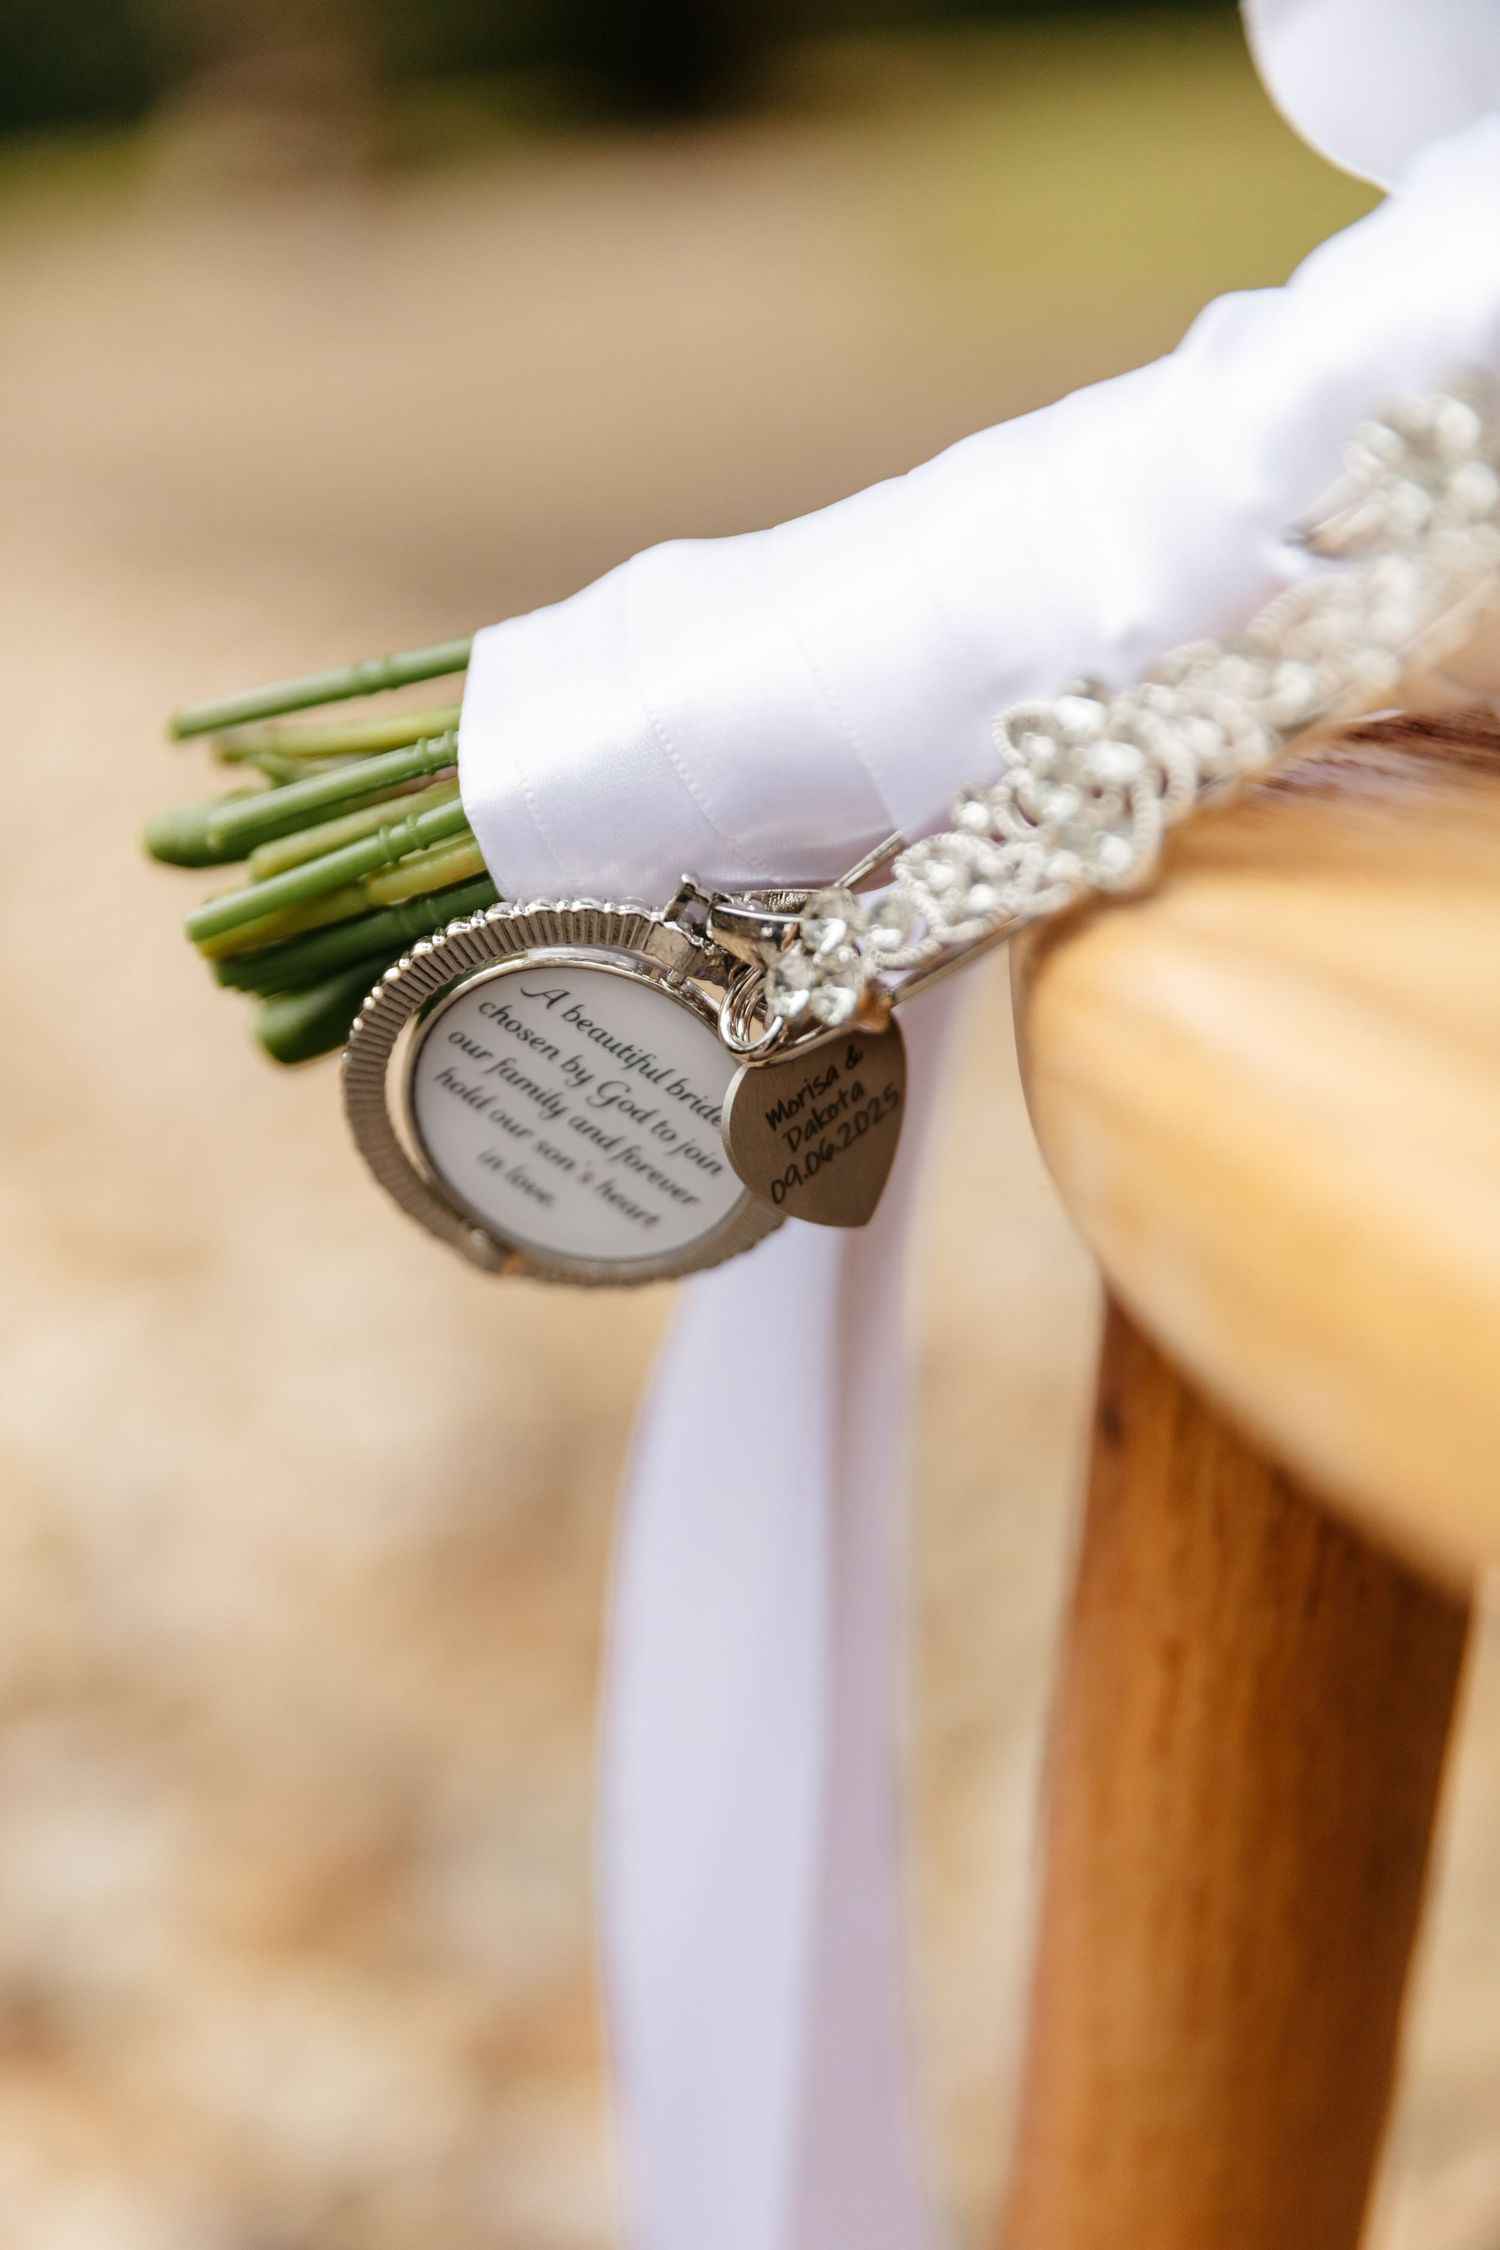
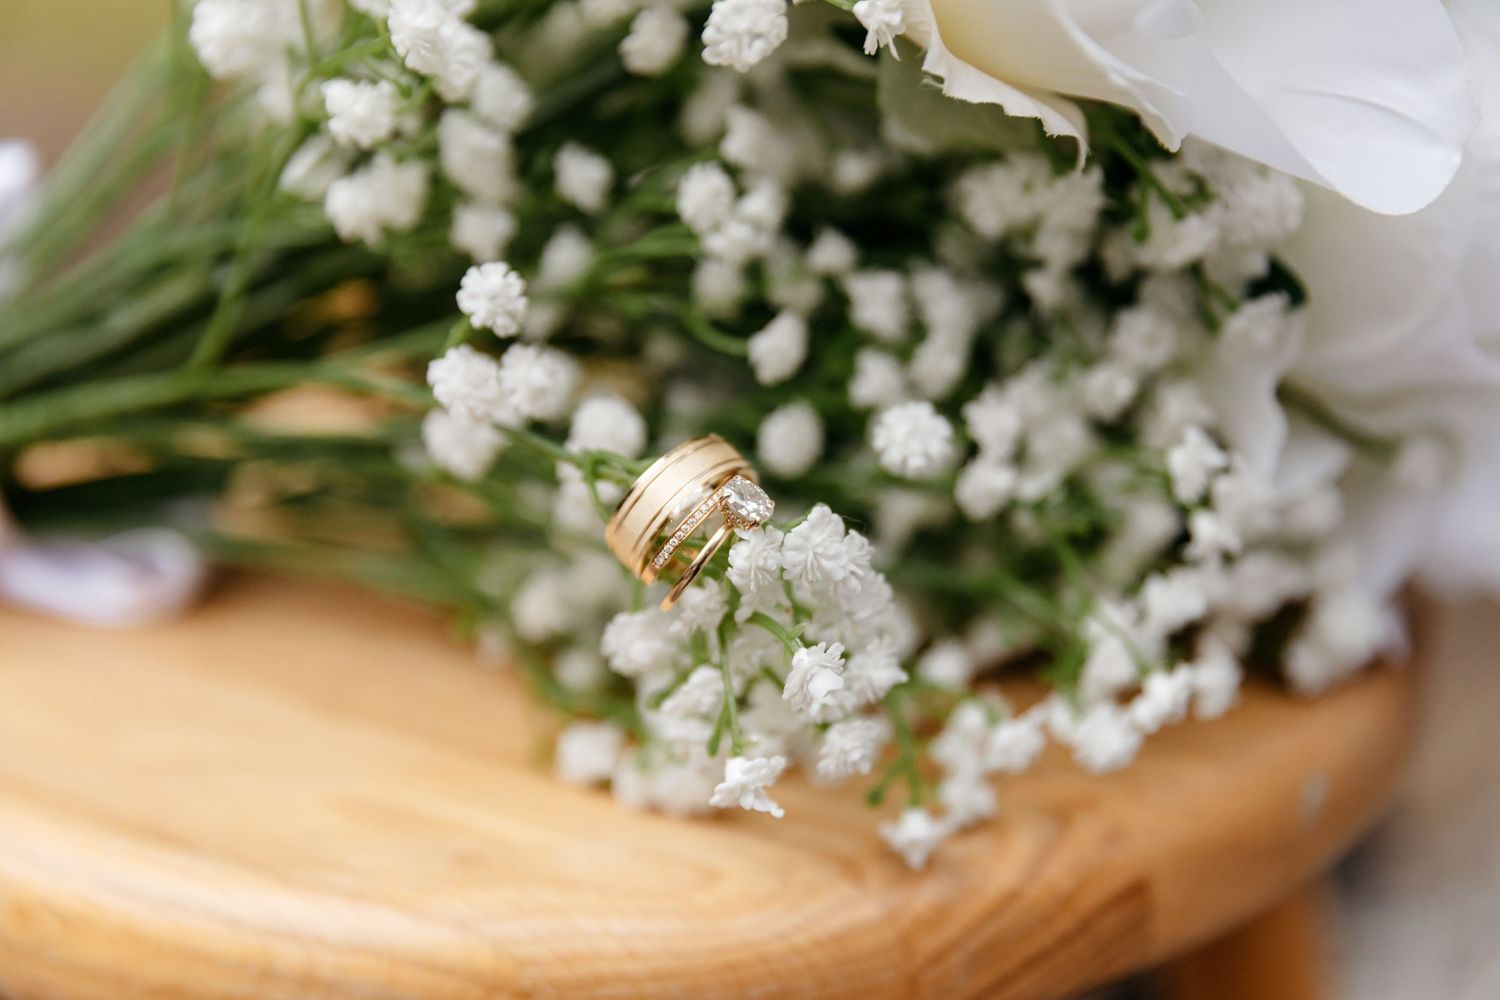
The Bridal Bouquet: For my wife’s bouquet, we mixed those same baby's breath stems with silk white roses. From a distance and in photos, you truly couldn't tell the difference.
The Finishing Touch: We used forest green ribbon to tie all the bouquets together. Choosing a deep, rich color like green adds a luxury "velvet" vibe to your photos.
Affiliate Links:
Faux Baby's Breath: https://amzn.to/49Ne4Wx
Silk White Roses: https://amzn.to/4jPOAwv
Green Ribbon: https://amzn.to/4r0Alar
White Ribbon: https://amzn.to/49HJpd1
2. High-End Stationery on a Cardstock Budget
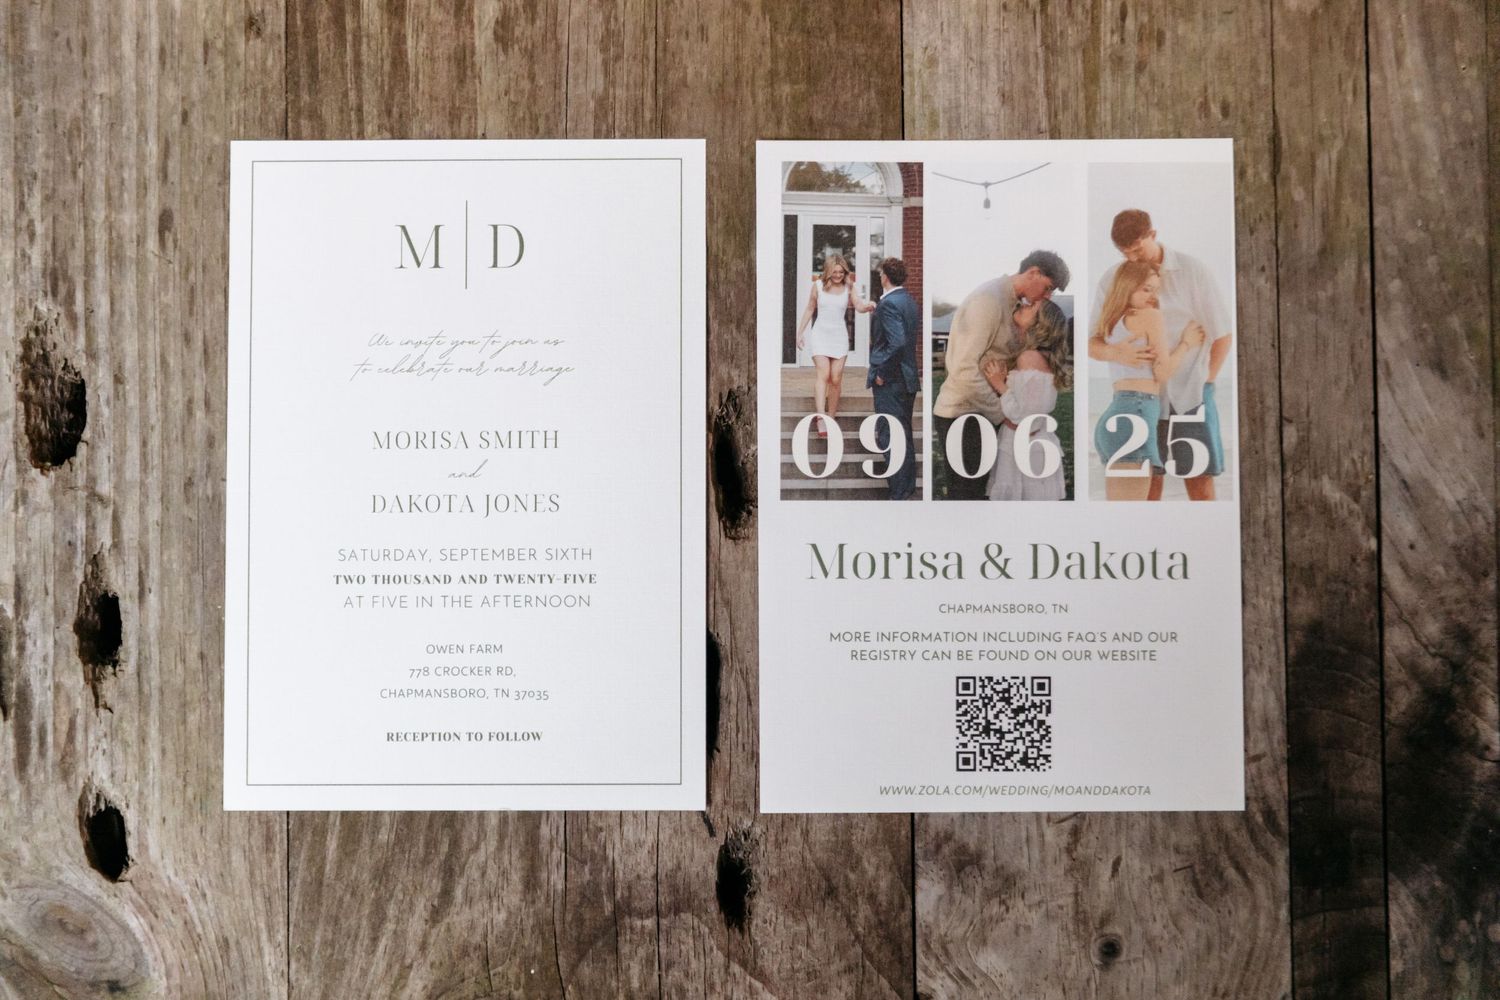
Paper goods (invites, RSVPs, programs) can cost $5–$10 per person if you order them through a boutique or online. We did it for pennies by using Canva.
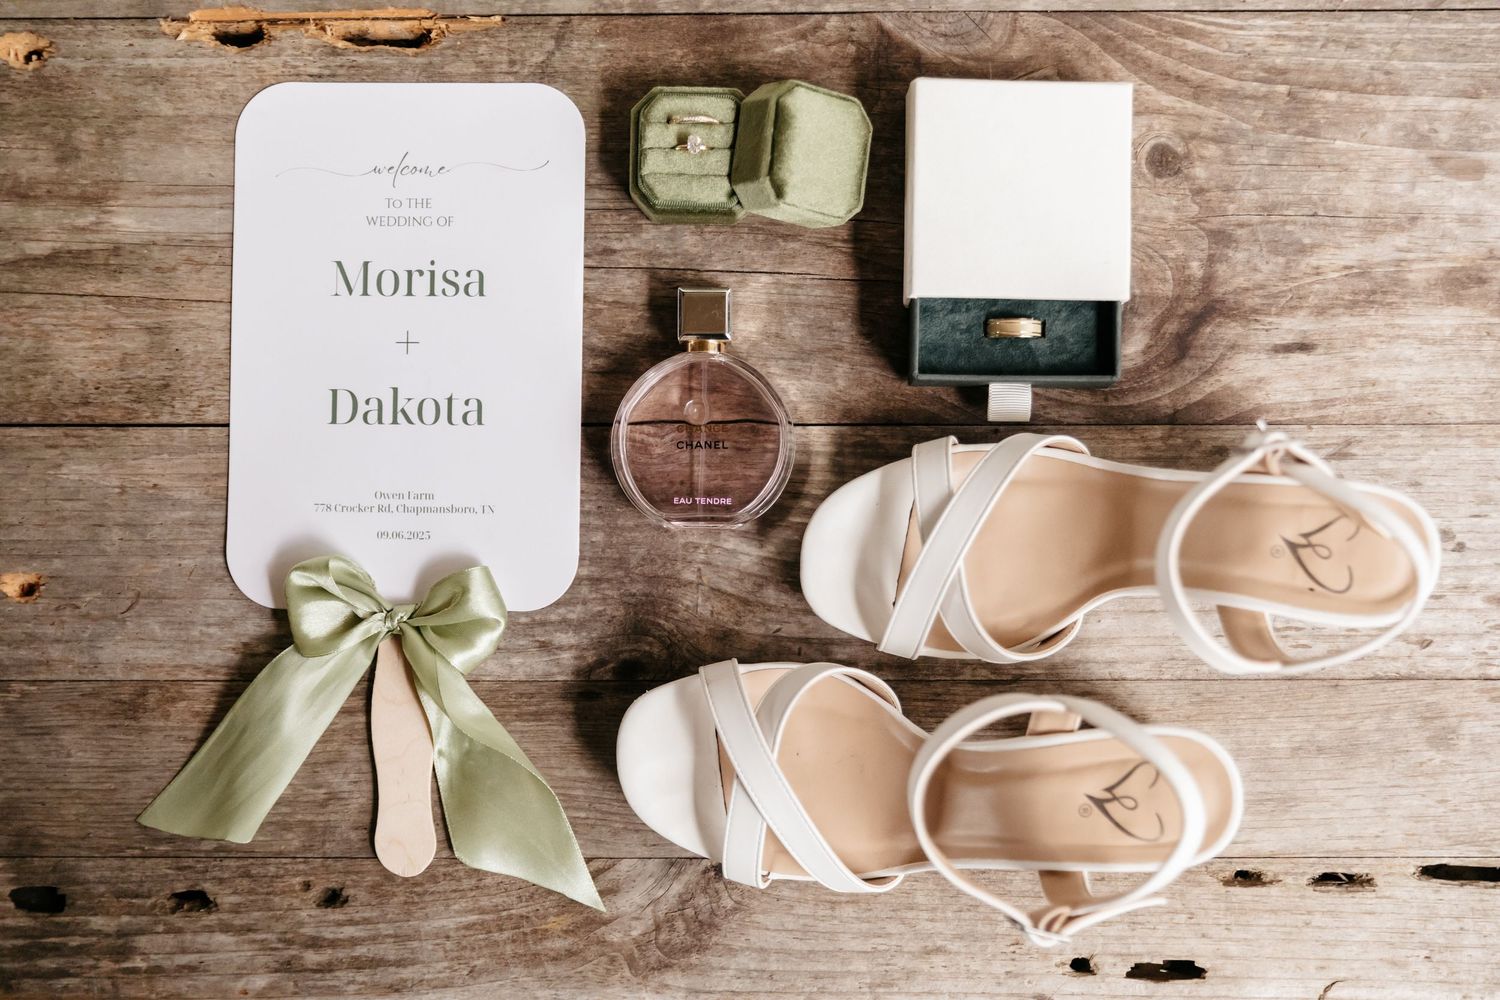
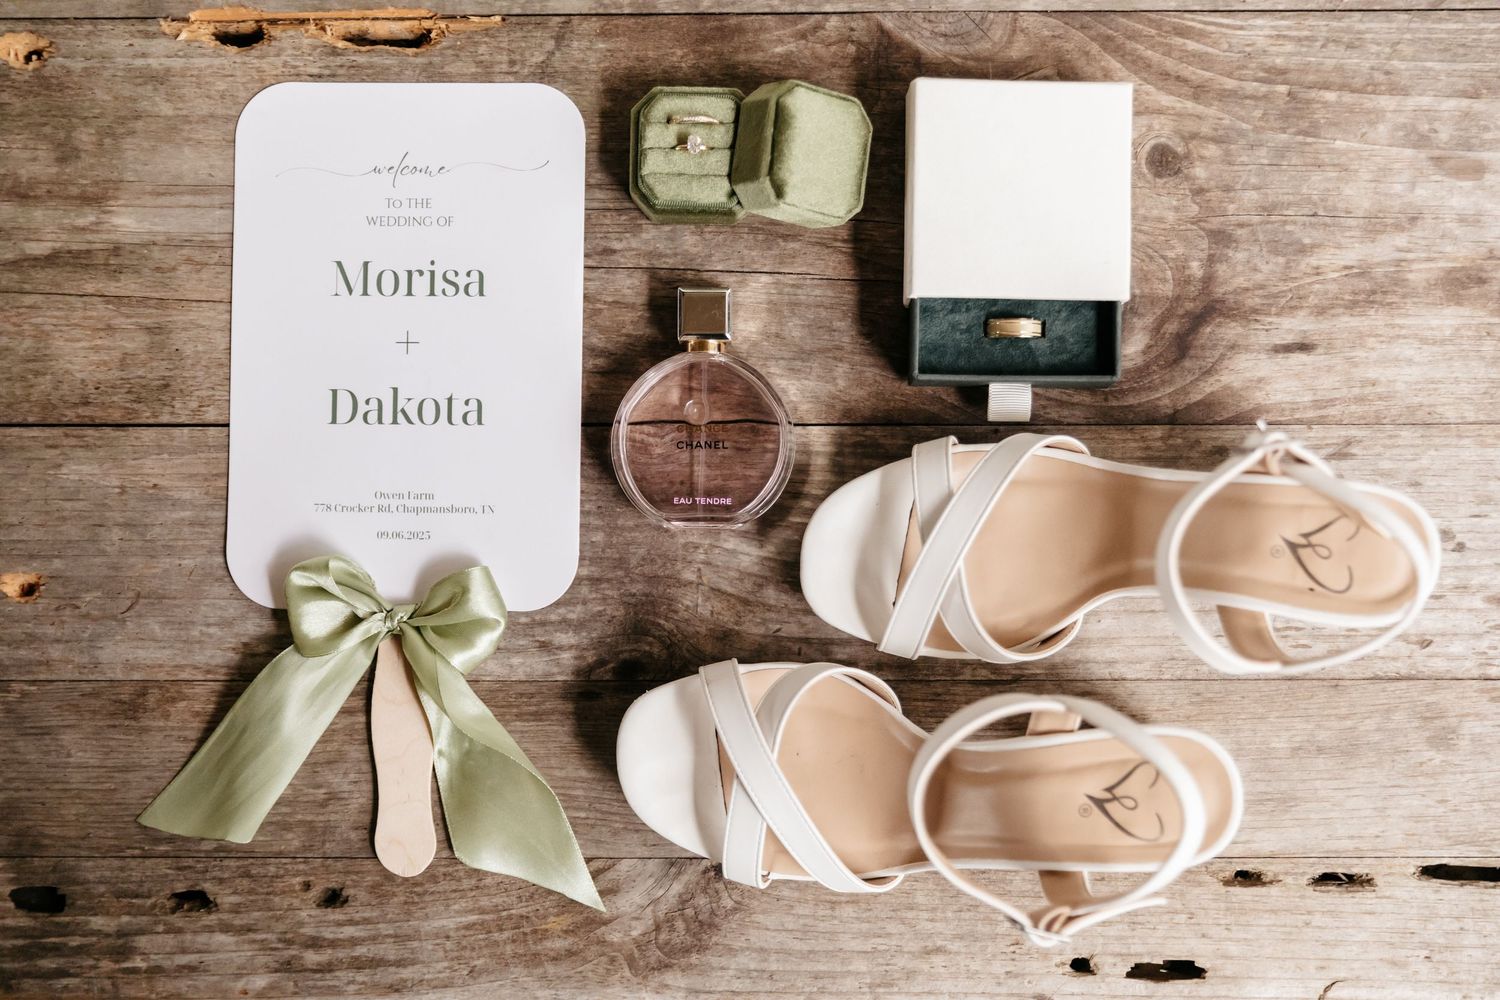
Invites & RSVPs: We designed our own suite in Canva and printed them directly onto heavyweight cardstock using the printer my Mom got us for Christmas, THANKS MOM. The texture of the cardstock is what makes it feel expensive in those "flat lay" detail shots your photographer will take. The people recieving the invites and RSVP's will also appreciate the quality!
Program Fans: If you’re having an outdoor ceremony, these are a lifesaver. We bought a program fan kit (which includes the wooden handles), printed our details on them, and added a green ribbon bow to match the bouquets. Everyone loved these because no one likes crying AND sweating at the same time.
Affiliate Links:
Premium Beige Cardstock (Invites): https://amzn.to/4bLzANQ
Premium Cream Cardstock (RSVP'S): https://amzn.to/49XyrS9
DIY Wedding Program Fan Kit: https://amzn.to/3ZoEOYs
3. Creating "The Glow" at the Reception
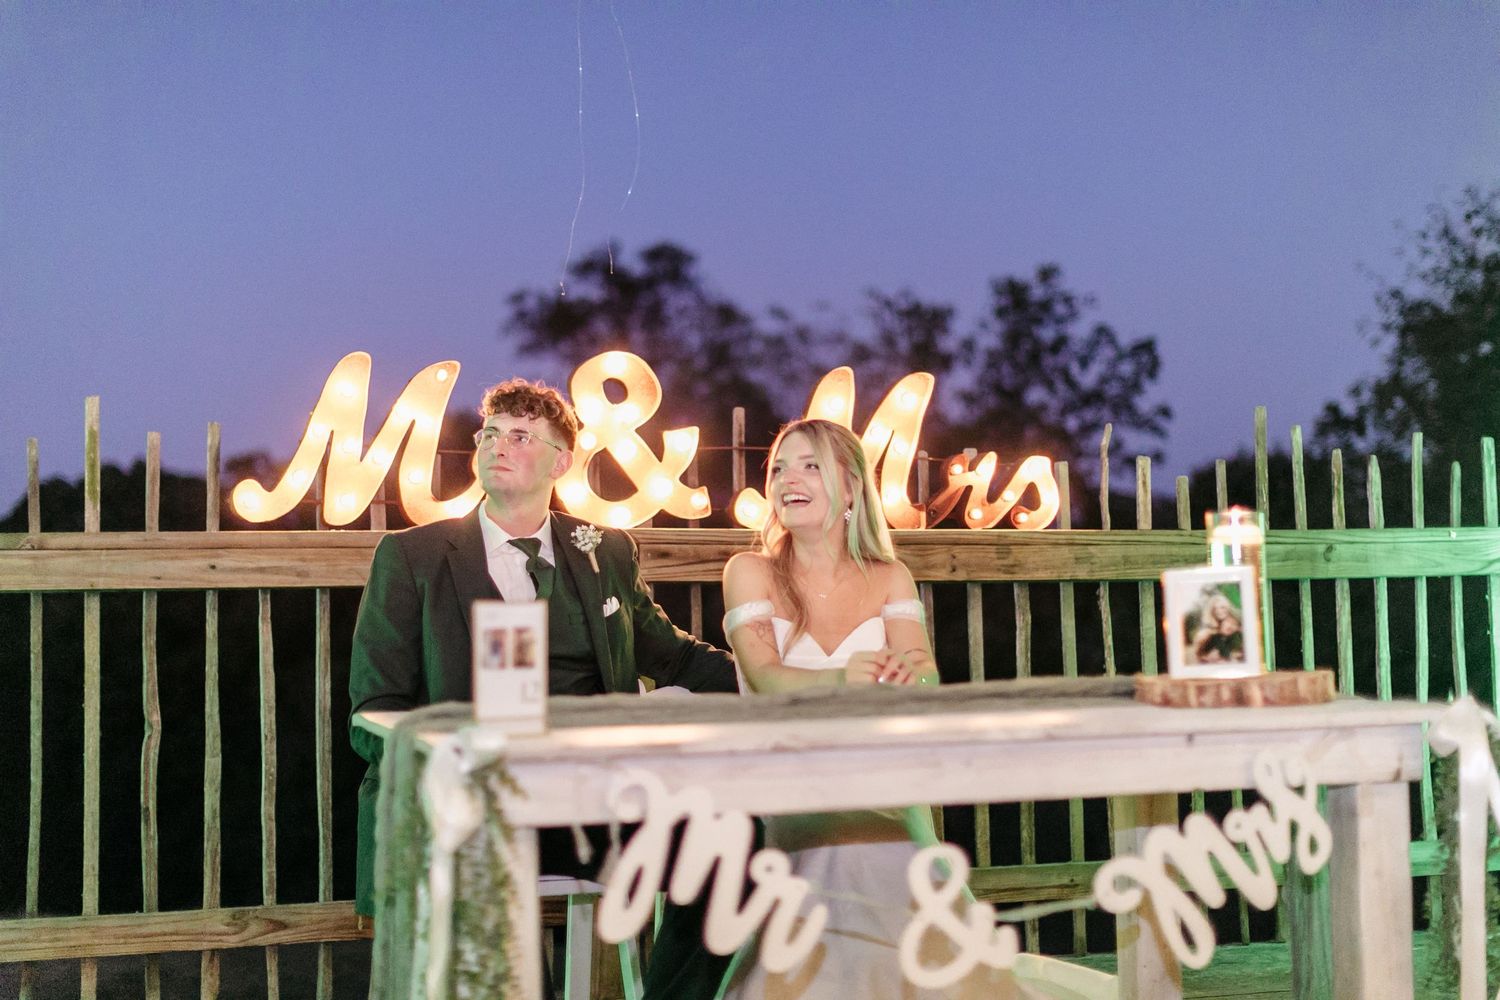
Lighting is the secret sauce of wedding photography.
The Tablescapes: We used floating candles in glass vases with green leaves at the bottom for the aesthetic we were going for.
Table Runners: To add texture to the long tables, we laid down green table runners.
Table Numbers: We put our table numbers in simple gold frames. After the wedding, we repurposed these to display our favorite wedding photos in our apartment!
Affiliate Links:
Floating Candles: https://amzn.to/45huO6S
Green Table Runners: https://amzn.to/4b2NwD3
8x10 Gold Frames: https://amzn.to/4t2nYfU
4. The Ceremony Focal Point
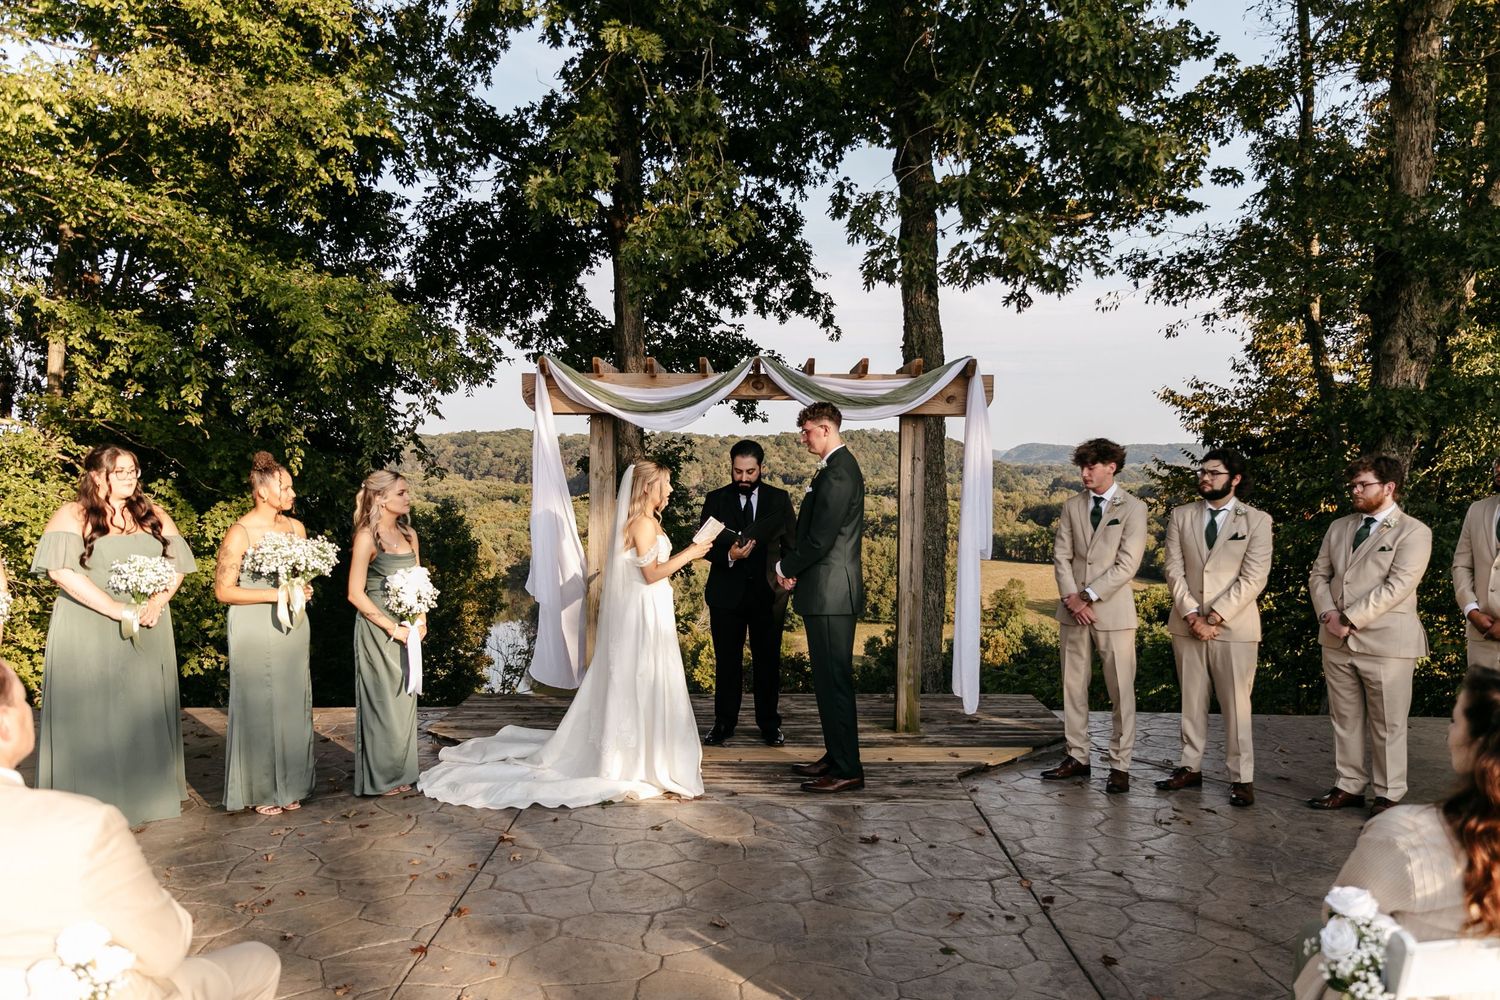
Your arch is the backdrop for your most important photos the kiss, the vows, and the "just married" walk-back.
The Arch: We didn't need a $1,000 floral installation. Instead, we used wedding arch draping fabric. It’s lightweight, flows in the wind, and fills up a lot of space for a very low cost.
Affiliate Link:
Wedding Arch Draping Fabric: https://amzn.to/3NtceTh
Final Photography Tip:
When you're doing DIY decor, consistency is key. By using the same green and white/neutral theme throughout the everything, we created a cohesive "brand" for our wedding. This makes your final photo album look like it was designed by a pro!
We hope we saved you a buck or two!